Pumpkin and Oat Muffins

We got a gigantic box of fruit and veggies delivered a week ago which has resulted in us trying to be creative and use as much of it as we can. A poor humungous piece of pumpkin has been sitting in the crisper for an entire week so I thought I had better do something with him. I have mashed together a few different muffin recipes to create this beauty below – enjoy!

Ps. You use wholemeal flour, maple syrup instead of ‘sugar’ and pumpkin is most definitely a vegetable, so this recipe is basically a health-food, right??

Pumpkin1 
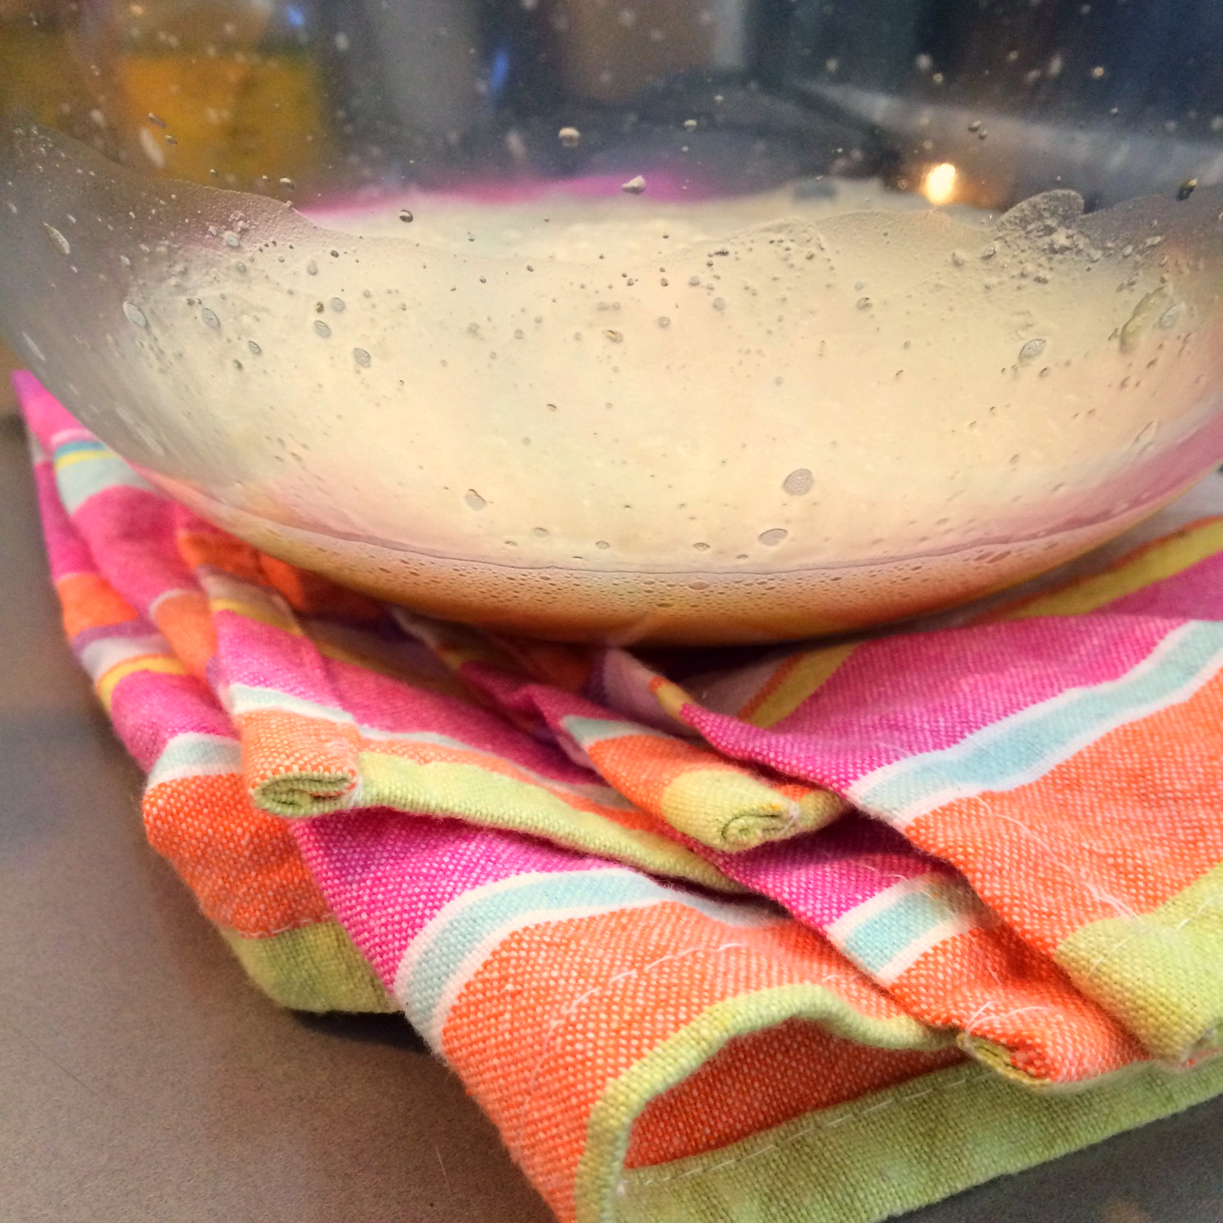
Tip – when using an electric mixer, throwing a slightly dampened tea towel or cloth under the bowl will help reduce the noise!

pumpkin2 pumpkin3


Ingredients

⅓ cup extra-virgin olive oil
½ cup maple syrup (or honey)
2 eggs, at room temperature
1 cup pumpkin purée (steam up 2 handfuls of chopped pumpkin for 10 mins then whizz away with a stick blender – cool in fridge before adding to mixture)
¼ cup milk
1 teaspoon baking soda
1 teaspoon vanilla extract
½ teaspoon salt
1¾ cups plain wholemeal flour
⅓ cup oats, plus more for sprinkling on top (I cheated and used Be Natural 3 Grain Porridge – Golden Honey & Grains)
Optional:
½ teaspoon cinnamon, plus more for sprinkling on top
½ teaspoon ground ginger
¼ teaspoon nutmeg
¼ teaspoon allspice or cloves
Naughty optional:
a few pieces of dark chocolate, chopped

Method

  1. Firstly, pre-heat your oven to 165°C. Then make your pumpkin purée & set aside to cool in fridge (bowl of purée over a bowl of ice water works a treat).
  2. Whisk oil and maple syrup in a bowl to combine.
  3. Add your eggs and whisk again until mixture is lighter in colour (see first picture).
  4. Mix in your cooled pumpkin purée and milk using a spoon. Then add baking soda, vanilla, salt and spices (I didn’t use any spices in mine – just not a spice kinda gal!).
  5. Add flour and oats and mix to combine.
  6. You can either grease muffin tins butter or use muffin casings. I used casings because I am lazy and didn’t want to wash the try, HOWEVER the muffins kinda stuck to the bottom of the casings so may I recommend trying with a generously greased non-stick tray instead.
  7. Fill up just over halfway in the casings/trays – these don’t rise like crazy.
  8. Sprinkle a tiny bit of oats over the top and then bake for roughly 20 minutes. Always good to take one out and test – the usual way is with a toothpick & see if it comes out clean but I use this as an excuse to cut one open and give it a proper taste. If it’s still too doughy then just leave them in there for another few minutes – not too long!

Notes

  • I filled up 12 casings and still had enough batter left over for 5 more – the obvious thing to do in this situation is throw in some chocolate and mix. These chocolate muffins were heavenly and I highly recommend you doing the same.

Chicken and Leek Pie

There’s not much more to say about this pie than ‘ahhh’ – that’s the sound of pure comfort and satisfaction. Make this beauty when you need a bit of love.

chickenleek01 chickenleek02 chickenleek03

Ingredients

3 chicken breasts
olive oil
salt & pepper
1 leek
1 brown onion
2tbsp butter
2 cloves garlic, crushed
1tbsp wholegrain mustard
1/3C plain flour
2C milk
1 sheet shortcrust pastry
1 egg & splash of milk for egg wash

Method

  1. Pre-heat over to 200°C.
  2. Line baking tray with alfoil and place chicken pieces (fat trimmed) on the tray. Pour olive oil over chicken and season generously with salt and pepper. Cover chicken pieces with a second piece of alfoil and place in the oven for 15 minutes.
  3. Remove chicken from oven, turn over and season again then roast for another 15 minutes until cooked. Remove from oven when cooked, shred chicken and set aside. Do not discard juices from baking. Reduce oven temperature to 180°C
  4. Finely dice the onion and cut white part of leek in half lengthways then slice into 1cm pieces.
  5. Place a large saucepan on to a medium heat. Pour in the baking juices from earlier and add the butter.
  6. Add the onion and leek to the pan and cook for 5-7 minutes until tender.
  7. Stir through garlic and mustard.
  8. Add flour and cook for 2 minutes.
  9. Add milk and stir until thickened.
  10. Place shredded chicken back into pan, turn heat off and then stir through.
  11. Line a baking tray with baking paper and spoon mixture on to tray. This tray goes in the fridge for half an hour to cool mixture.
  12. While mixture is cooling, grease a ceramic or pyrex dish with butter.
  13. Place cooled chicken mixture into ceramic dish and top with pastry.
  14. Ensure there is a cross cut into the middle of the pastry to allow steam to escape, and brush with egg wash.
  15. Your pie is now ready for baking! Put it in the oven for 40-45 minutes. She’ll be ready when the top is golden brown and bubbling.

Lemon Butter

Whether you call it curd or butter, this deliciously enticing lemon concoction will spice up your daily meals. Spread it lovingly on warm toast for a breakfast treat, add a dollop on top of a fresh meringue as an afternoon pick-me-up or fill up a beautiful shortcrust pastry tart for a tantalising dessert with some fresh cream – you’ll be  smitten with this tangy spread’s versatility.

IMG_0152

Adapted from taste.com.au 

Makes 1.5 cups

Ingredients

2 eggs, plus 2 egg yolks
3/4C caster sugar
1/3C butter
2 lemons – zest first then juice

Method

  1. In a medium saucepan, throw in your eggs (whole plus yolks) and sugar. Whisk until gorgeously smooth and sugar is dissolved.
  2. Place saucepan over low heat then add in the remaining ingredients (butter, juice and zest). Whisk until this velvety lemon goodness thickens up.
  3. Once we have a curd on our hands, pour carefully into pre-sterilised jars.

Notes

  • Do not fret if your curd does not seem to be thickening to the consistency you might imagine it should be – this is where the magic of the fridge comes in! Once you place those jars of lemon heaven in the fridge they will thicken up nicely.
  • Make sure those jars are sterilised properly – check out how to do that here.
  • This recipe should keep in the fridge for at least 2 weeks but I almost guarantee it will all be well and truly scoffed before then!
  • Don’t waste those 2 egg whites – make some meringues! If you make them with a small crater you’ll have the perfect place to spoon this lemon butter in to.

Zucchini Fritters

The addition of chilli and lemon really liven up these healthy little delights. Great as a snack for 2 or yummy side dish.

zucchini_fritters_3zucchini_fritters_1zucchini_fritters_2

Adapted from thehealthyfoodie.com

Makes: 5/6 fritters

Ingredients

1 zucchini (med-large)
2tbsp plain flour (I used whole-meal flour but normal plain should be fine)
1 egg
Small chunk parmesan (approx. 2tbps when grated)
chilli (flakes or from a jar – I used 1 tsp of chilli from a jar)
lemon wedge
salt & pepper

Method

  1. Wash zucchini under warm water and ‘scrub’ with your fingers to ensure any nasties are removed from the skin.
  2. Place a chopping board on the bench and then lay a clean tea-towel over board. Chop off the smaller end of the zucchini, get rid of that and then start grating the remainder of the zucchini right on to the tea-towel.
  3. Grab the tea towel and ‘wrap’ up the grated zucchini into a ball. Place tea-towel over sink and squeeze out all the excess liquid until the tea-towel stops dripping.
  4. Chuck zucchini into bowl and then add in the egg, flour, grated parmesan, chilli, salt & pepper and a squeeze of lemon juice (optional).
  5. Combine all ingredients with a spoon. Mixture will be just moist to pretty wet depending on size of egg & how much lemon you put in – this doesn’t matter too much as it all cooks up to be delicious anyway.
  6. Melt some real butter (none of that imposter margerine) in a pan, then drop spoonfuls of mixture in to pan. Smooth fritters out a bit with the spoon so they cook evenly.
  7. Fritters should take 2-3 minutes on each side to get a nice golden colour.
Notes 

  • Make sure fritters cook enough to get rid of the flour taste – always good to test one before you take them all out of the pan.
  • Recipe can be easily doubled to produce roughly 12 fritters

Mint Choc-Chip Ice-Cream

An incredibly simple yet totally refreshing ice-cream. I’d almost feel guilty if it wasn’t so easy to whip up!

mint_1 IMG_0156_Fotor

Adapted from nigella.com

Makes: 1 litre

Ingredients

300ml double cream
Half a can of condensed milk (approx. 200g)
Fresh mint (enough for a firmly packed handful of leaves)
80g dark chocolate

Method

  1. Combine both creams in a small bowl.
  2. Place fresh mint leaves into hand and squeeze to bruise leaves. This will help release the beautiful mint flavour.
  3. Add bruised mint to the cream and stir to immerse leaves.
  4. Cover with cling-wrap and place in the fridge for a few hours – the longer you leave it, the more the mint will infuse into the cream.
  5. Remove the cream and strain into a larger bowl. Use a spoon to help squish the cream through the strainer to make sure you get most of it. Discard the mint leaves.
  6. Using an electric mixer, beat the cream until light and fluffy & soft peaks form.
  7. Chop the dark chocolate and gently add to cream.
  8. Put mixture in an airtight container and freeze overnight.

Notes

  • Original recipe replaces fresh mint with 2 tbsp creme de menthe.